
Fun fact: The “Obscur” in Clair Obscur: Expedition 33 is a reference to how obscure all of the game’s menus and systems are.
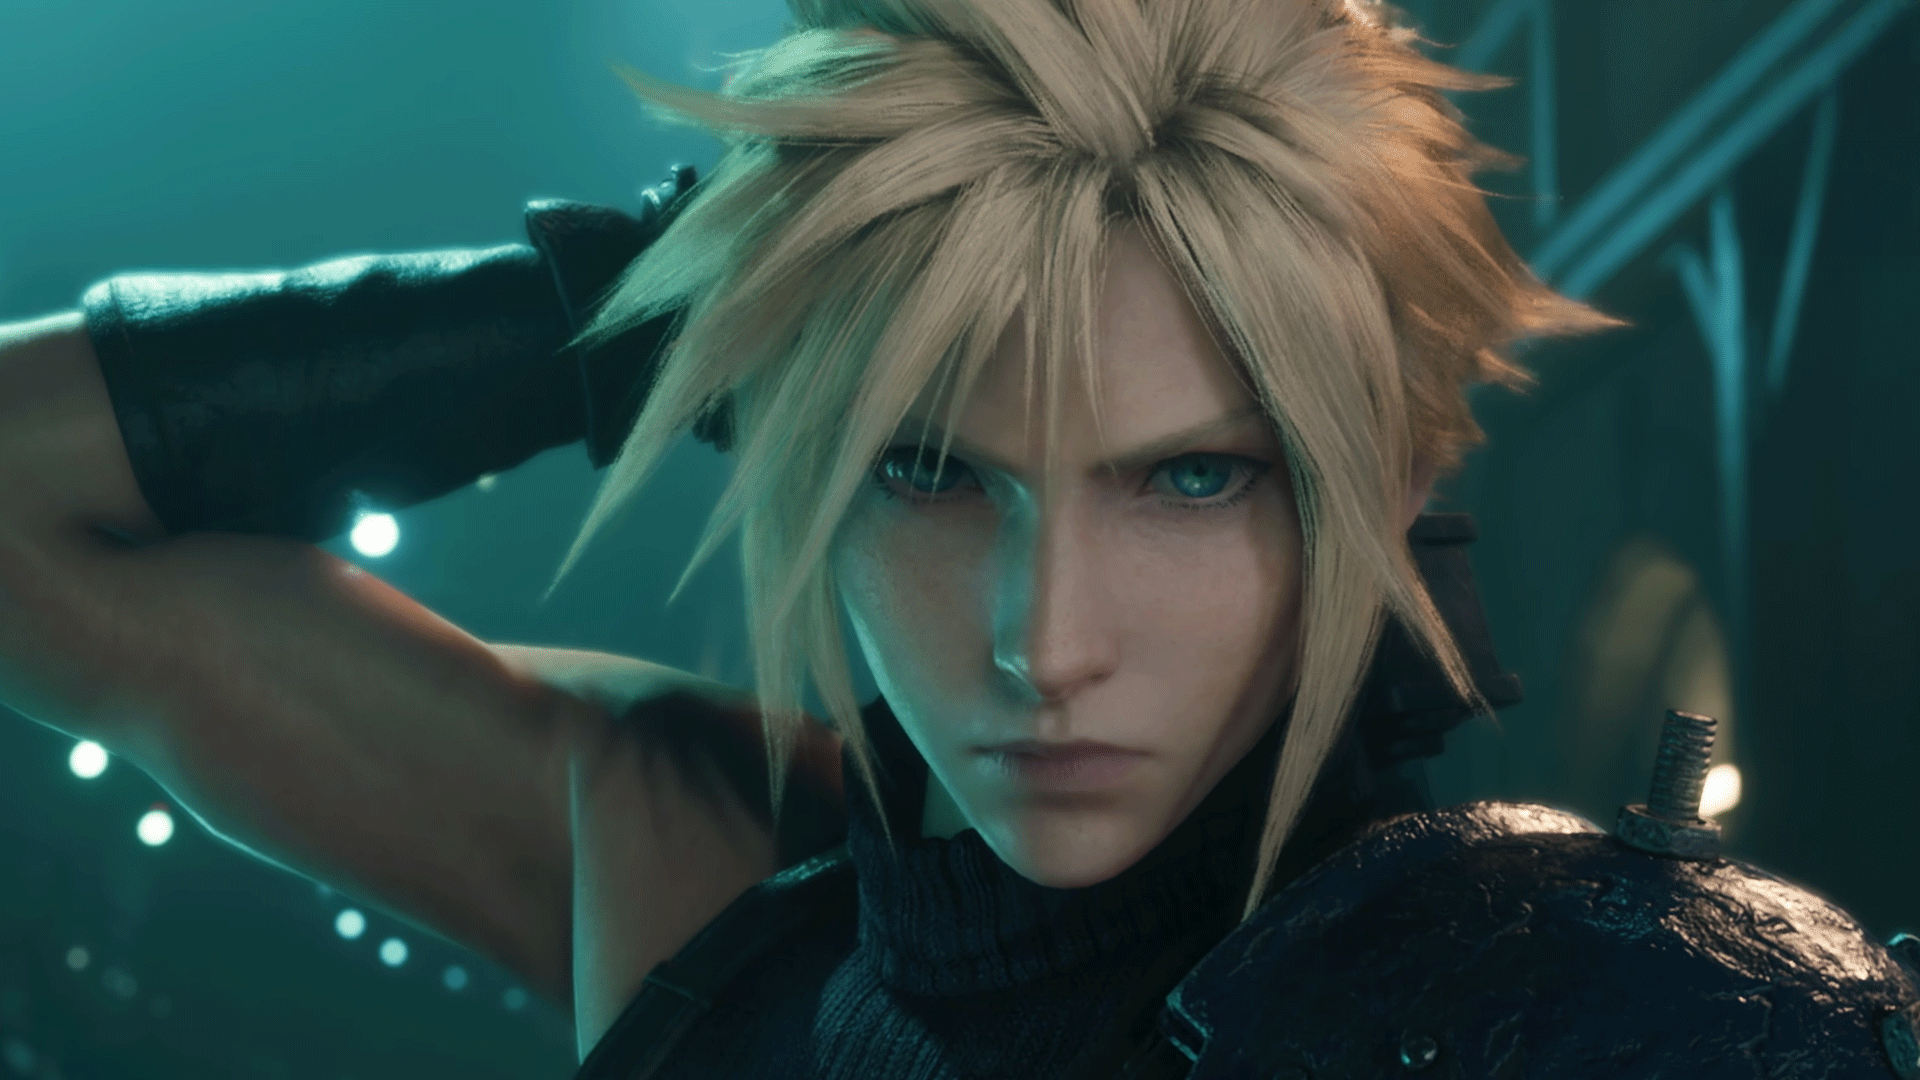
Clair Obscur: Expedition 33 casts you as a group of magical Instagram influencers, fronted by British Daredevil, on a mission to let everyone in the world grow old enough to get gray hairs. It’s a turn-based RPG, but it also has real-time parries inspired by Soulslikes, and wraps up that perplexing mix of gameplay in a lexicon that seems straight out of art school.
It’s a bit off-putting initially, but once you lock in, you’ll find a rich, fascinating RPG that’s unlike many other games around today. Below, see 10 beginner’s tips for Clair Obscur: Expedition 33.
Change party members often
In Expedition 33, your party members only earn experience points from a battle if they partook in said battle. (Yes, it’s one of those games.) Further, there are several points where the game forces you to keep certain characters in your party. (It’s one of those games too.) The easiest solution to both of those problems? Change your party members often, and do your best to keep all of them at or near the same level.
The good news is that, if you need to grind, it moves pretty quickly. Battles grant a generous amount of experience, often enough to level up after two or three. And you can reset an area’s enemies by resting at an expedition flag — checkpoints that populate each level — so if you need to rack up a ton of experience points quickly, just fight enemies near a flag, rest at the flag, and repeat the process until you’ve leveled up a few times.
Change accessories often

There are two ways to grant passive perks to your party members: Pictos and Luminas.
- Pictos are accessories that grant stat boosts but also have a passive skill. Each party member can equip up to three Pictos. When a Picto is equipped, if you win four battles with that Picto equipped, you’ll then unlock its Lumina.
- Luminas aren’t accessories, per se, but you might as well think of them like that. Each character has a number of Lumina Points (which you can increase through items and level-ups). Each Lumina has a predetermined Lumina Point cost. So long as a given character has enough Lumina Points to unlock one, there are no limits on how many characters can equip the same Luminas, meaning you can stack passive perks across your entire team.
The most efficient approach here then is, every time you get a new Picto, make sure one of your party members equips it, then win four battles. That’ll unlock its associated Lumina, so at least you’ll be able to use it whenever the need arises.
If you don’t have any new Pictos you want to level up, just equip the Pictos with the best stats.
Forget about parrying
Expedition 33’s big gimmick is that it pairs turn-based combat with real-time parries. The thing is, no matter the difficult level, the parry window is blink-and-you’ll-miss-it brief. We’re talking 0.00000005 frames at best. If you want your party members (and your controllers) to not die, focus instead on dodging.
When you land a parry, you’ll restore one AP for that character, allowing that party member to use skills, so there’s certainly a benefit to parrying rather than dodging. But there are several Pictos and Luminas you can equip that’ll give you AP when you successfully perform a dodge. If you’re struggling with the parry window, equip Luminas that restore AP on dodging.
Break is your secret weapon
Break is a status effect that can turn the tide of most battles. As you whittle away an enemy’s health bar, you’ll slowly fill up a gold meter underneath that health bar. When it’s full, that means you’re able to inflict break, a status effect that reduces that enemy’s defense by 20% and prevents them from attacking for a whole turn. It’s the single most powerful status effect, but only certain attacks can actually inflict break. See our guide on how to break enemies for more details.
Level up intentionally
You can reset attributes and skills with an item called a Recoat, but it’s a pretty rare item. Before committing your attribute points and skill points, get a feel for how you want to build that party member’s skill tree out, then map out a plan.
Always stop at the expedition flag

Resting at an expedition flag also fully heals your party and restores all of your healing items, including Chroma Elixirs (potions) and Revive Tints (phoenix downs). Every time you see a flag, rest at it!
Expedition flags are also the closest things to waypoints that you’ll find in Expedition 33. There’s no map. There’s no compass. There are no actual waypoints. But each flag has a name and a number. When you reach an expedition flag, you can see a list of all the expedition flags you’ve found so far in the level under the “fast travel” menu. It’s not much, but it can give you a sense of progress.
Paint Cages are always worth it
Paint Cages are essentially glowy locked chests that require you to find and shoot three hidden locks in the level before you can get the loot inside. That loot, though, is always worth the effort, including items like Recoats or weapons. The three associated locks aren’t always in obvious locations, but they are, in our experience, always relatively close to the Paint Cage. If you can’t find a lock, try smashing some crates nearby — or try looking up!
Yes, fight the merchant

Every merchant has an unlisted unique item. To get them to sell the item to you, you’ll need to choose one party member and defeat them in one-on-one combat. Every single time, it’s worth doing so, as these items are one of a kind (and often quite powerful). The first merchant you come across, for instance, will sell you a Picto that applies the defenseless debuff, which increases the damage you’ll deal to an affected enemy by 25%.
Trust in the autosave
There’s no way to manually save in Expedition 33. However, at least on PlayStation 5, the game autosaves after nearly every action — finishing a battle, buying an item, exiting a menu — and stores the 20 most recent autosave files. When you mess up, you won’t lose that much progress by reverting to your most recent save.
Learn each character’s quirks
When you unlock a new party member, you will have one chance — and one chance only — to play through that character’s combat tutorial. Expedition 33 does a decent job at showing you the ropes, but it doesn’t get into the finer details. To that end, we’ll leave you with a lightning round of advice for each party member.
- Gustave: Prioritize quantity (of hits) over quality (of hits). If you can fill up his Overcharge meter within two turns, you’ll be able to deal a single but very powerful attack.
- Lune: Light stains can stand in for any of the other four elemental stains. So if, for instance, you need to use two ice stains for an attack bonus but don’t like using ice attacks to generate those stains, use light magic to generate all-purpose stains instead.
- Maelle: Whatever you do, equip weapons and skills that let you play in Virtuose Stance, which grants Maelle a 200% damage boost for the next turn.
- Sciel: Against regular enemies, don’t worry too much about building large stacks of Foretell. Against bosses, try to build Foretell stacks up to at least 10 before using them up.
- Verso: It’s futile, so don’t even try to ignore the Clive from Final Fantasy 16 allegations. Oh! Real advice? Use Verso to mark enemies, leaving them susceptible to extra damage on the next attack.
- Monoco: Defeat each type of enemy with Monoco in your party at least one time. Every type of enemy you defeat with Monoco will unlock a new skill for him to use.
Bear in mind that some of the above terminology might not entirely make sense until you unlock and play a few battles as each character. Yes, that means Expedition 33 has rubbed off on us, which is a terrifying revelation because we’re about to turn 33. Please, for our sake, go defeat the Paintress!
Source:https://www.polygon.com/clair-obscur-expedition-33-guides/562096/beginners-tips-before-starting