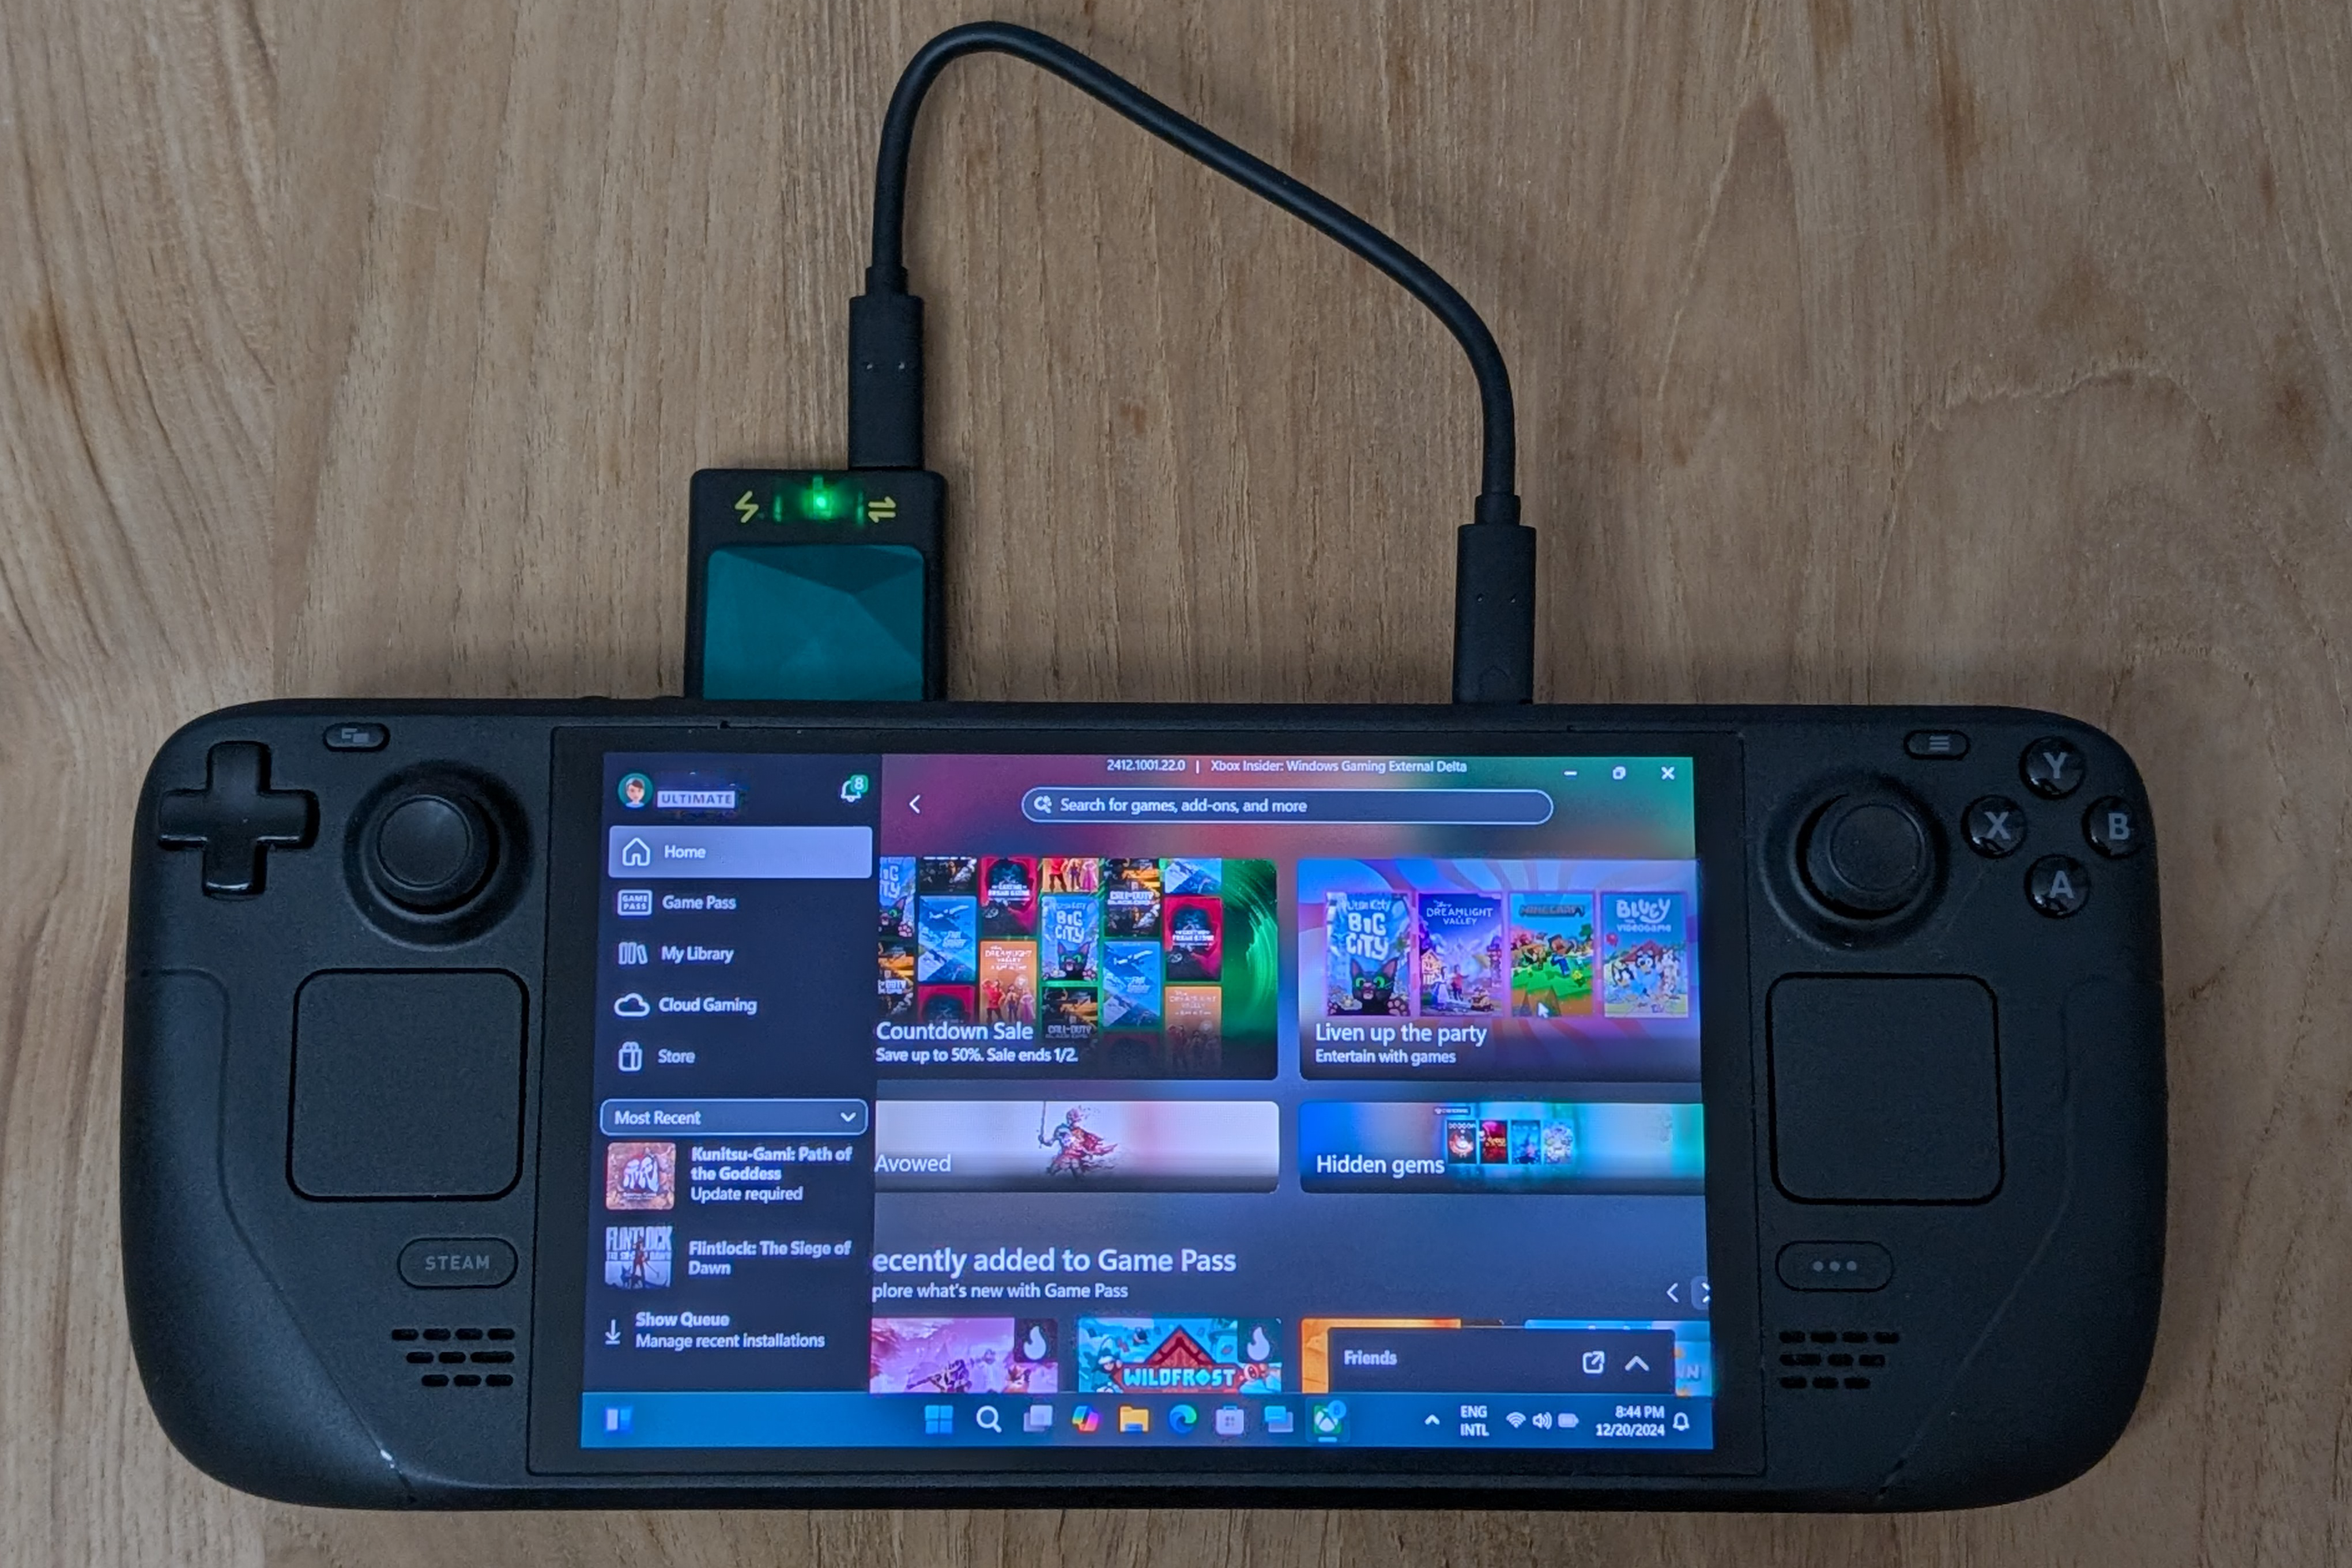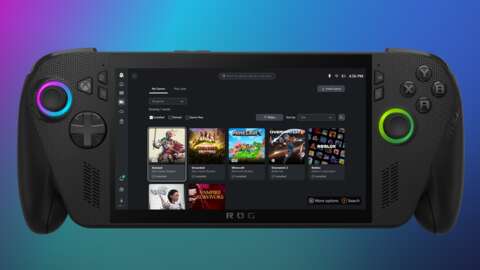
The Steam Deck is one of the best portable gaming devices around, despite one major shortcoming: It doesn’t run Windows. Unlike the Asus ROG Ally, the Lenovo Legion Go, and a fleet of other devices that come with Windows preinstalled, the Steam Deck uses Linux.
To Valve’s credit, its handheld alone has changed the perception of gaming on Linux. It can run most Steam games pretty well, but you’ll need Windows if you want to play PC Game Pass titles, or take advantage of Epic Games Store’s constant stream of free games. You’ll also need Windows if you play multiplayer games that use anti-cheat software that isn’t compatible with Linux. That includes Destiny 2, Fortnite, Apex Legends, and more.
The simplest way to get Windows 11 on your Steam Deck without altering (and potentially screwing up) its internal file system is to make a portable version of the OS, conveniently stored on a USB-C SSD that you can easily plug into the Deck when you want it, and unplug it when you don’t. I’m going to walk you through the many steps required to get this done. This is a long guide, but try not to feel daunted; although the process is long, each of the steps is still fairly simple.
Buy a new USB-C SSD, or construct your own
(If you already have the SSD handy that you want to use, skip to the next step.)
I suggest buying the smallest (in terms of form factor, not storage) portable SSD you can afford. As for internal storage, 2 TB should last you a while, but 1 TB or less may be sufficient for your needs. Crucial’s X6 2 TB SSD is a good, relatively small, and affordable option that connects via USB-C. It’s not that small, though.

For something even smaller, prepare to pay more. Genki’s $49.99 SavePoint SSD enclosure is the better route by a wide margin. It’s tiny, fitting a compact M.2 2230-size SSD (not included), and it’s the only enclosure I’ve used that was thoughtful enough to include a second USB-C port in its design, allowing for passthrough charging. Normally, you give up the option to charge your Steam Deck when you connect an SSD — not with this one. It also includes a magnet, letting you secure it to your Steam Deck so it doesn’t dangle. Once you get your M.2 SSD, simply open the enclosure and insert it.
Alternatively, you could buy an M.2 2280 SSD on a deal, plus this $29.99 SSD enclosure that’ll let you easily connect it to your Deck. It’ll be a bit bigger in size than the aforementioned Crucial and Genki SSDs, but it’ll work just the same.
Download Windows 11
In case you didn’t know, it’s free, legal, and easy to download, install, and use Windows 11 (unregistered copies lack personalization options and feature a persistent watermark on the bottom-right corner of your screen). Microsoft hosts downloads of its latest OS, and grabbing a copy is a necessary part of this process.
Head to this page and scroll down to the section called “Download Windows 11 Disk Image (ISO) for x64 devices.”
Select “Windows 11 (multi-edition OS for x64 devices),” then hit the blue “Download Now” button. A page will load, then display another option that asks you to select your desired language. Once you do that, select “Confirm,” then finally click “64-bit download” to initiate the download.
Create a bootable version of Windows 11 on your SSD
With your SSD connected to the PC where you downloaded the Windows 11 file, it’s time to turn it into a bootable drive that your Steam Deck can recognize when you boot it up.
Start by downloading a copy of Rufus, a free, simple-to-use application that specializes in turning USB devices into bootable drives. Scroll down to the “Latest Releases” section and download the latest standard version for 64-bit systems.
In your downloads folder, find Rufus and open it. The first two steps include hitting the “SELECT” button on the app’s right side, then finding the Windows 11 OS file in your downloads. (The version of the file at the time of publishing is called “Win11_24H2_English_x64.”) Double-click it to mount it within Rufus. A message saying “Scanning image” will appear in its status bar, so hold tight as it verifies the file.
Next, make sure you check the box next to “List USB Hard Drives.” Once you do that, your SSD drive should show up. Select it under the “Device” drop-down menu at the top of the program.
Once your drive is mounted, click the drop-down window under “Image option,” then select “Windows To Go.” Selecting this option instead of “Standard Windows Installation” is what lets Windows run off of your SSD without having to install the whole OS on your Steam Deck, which is what we want in this case.
Under “Volume label” in the “Format Options” section, feel free to name the drive whatever you want.
Hit the “Start” button at the bottom and the process will begin to install Windows onto your SSD. Before it begins, a pop-up window will appear, asking which version of Windows you’d like to install. Just select “Windows 11 Home.” A second pop-up window will appear with more options to specify. You can select the first two, as well as the final option. You’re set with Windows on your SSD once this process finishes, but we’re not done yet.

Download Windows drivers for your Steam Deck
In order for your Steam Deck’s Wi-Fi, Bluetooth, GPU, and other components to work properly in Windows, you’ll need to grab Valve’s official drivers for the handheld. Open this page, then scroll to the section about whichever Steam Deck you have (the OLED or the LCD). Download each of the drivers listed under the Deck you’ll be running Windows on, and keep the page open, as it’ll serve as a useful guide later on. (Note: As Valve’s page indicates, the Steam Deck OLED needs to be running beta system software in order for its Bluetooth driver to work properly in Windows. To install the beta, head to settings, click into system, then in the “Beta participation” section, change “Stable” to “Beta” release, then restart your Deck.)
Each driver will download as a .zip file, and you can unzip and extract the contents of each of the six downloads. Make a new folder called “Steam Deck drivers” or something similar, then move all of the extracted folders into it. Then, move this folder full of drivers into the root directory of the SSD you have that now has Windows installed onto it.
Boot into Windows for the first time

Unless you have the Genki SavePoint SSD enclosure, which allows for passthrough charging while in use, make sure to fully charge your Steam Deck before booting into Windows for the first time.
Tap the “Steam” button on your Steam Deck, navigate down to “Power,” and select “Shut down.”
Once the system has turned off, connect your SSD that contains Windows and your Steam Deck drivers. Then, hold the volume down button and click the Deck’s power button, without letting go of volume down until you hear the system chime. This should boot into the Steam Deck’s drive selector screen. Use the right touchpad to hover over your drive, then pull the right trigger as you hover over it.
A lengthy loading process will take place as Windows initializes. Answer the questions it displays, but select “I don’t have internet” if it asks for Wi-Fi. Then, you’ll eventually get to the Windows home screen. You’ll notice something odd — that it’s displaying sideways. Fear not. In the next section, I’ll walk through how to fix this seemingly unavoidable quirk.
Make Windows display correctly

On an open section of the home screen, pull the left trigger to “right click,” which displays a bunch of options. Select “Display Settings.”
Scroll down (either with your finger or the left touchpad) until you find “Display orientation” under the “Scale & layout” section. Change it from “Portrait” to “Landscape.” That solves that.
Install your Steam Deck drivers

It might be tempting to click around in Windows to initialize apps and install some games, but let’s continue on with the Steam Deck driver installation first. Open the folder where you opted to store them, and with Valve’s driver page open on your phone or PC, install them on the Deck according to its instructions. Use the left trigger to open up each file’s options, letting you easily select the correct option to install them.
In case the Steam Deck hasn’t displayed a “your system must restart for changes to take effect” pop-up by the time you’ve finished installing the six drivers, go ahead and restart Windows 11 in order for the hardware changes to be reflected. The device should automatically reboot back into Windows without you having to hold down your Deck’s volume down button. But if not, at least you know how to get back to the Windows OS.
Have fun!
From here on out, it’s all about customizing your experience to the way you want it to be. The Xbox app is preinstalled with Windows, so signing in there will let you stream or download PC Game Pass games to the same SSD that Windows is installed on. Same goes for any other PC game store you may download.
Now that you have your very own fully operational Windows install ready for your Steam Deck, you won’t miss out on any big PC games.
Source:https://www.polygon.com/gaming/501039/steam-deck-how-to-install-windows-11-guide


