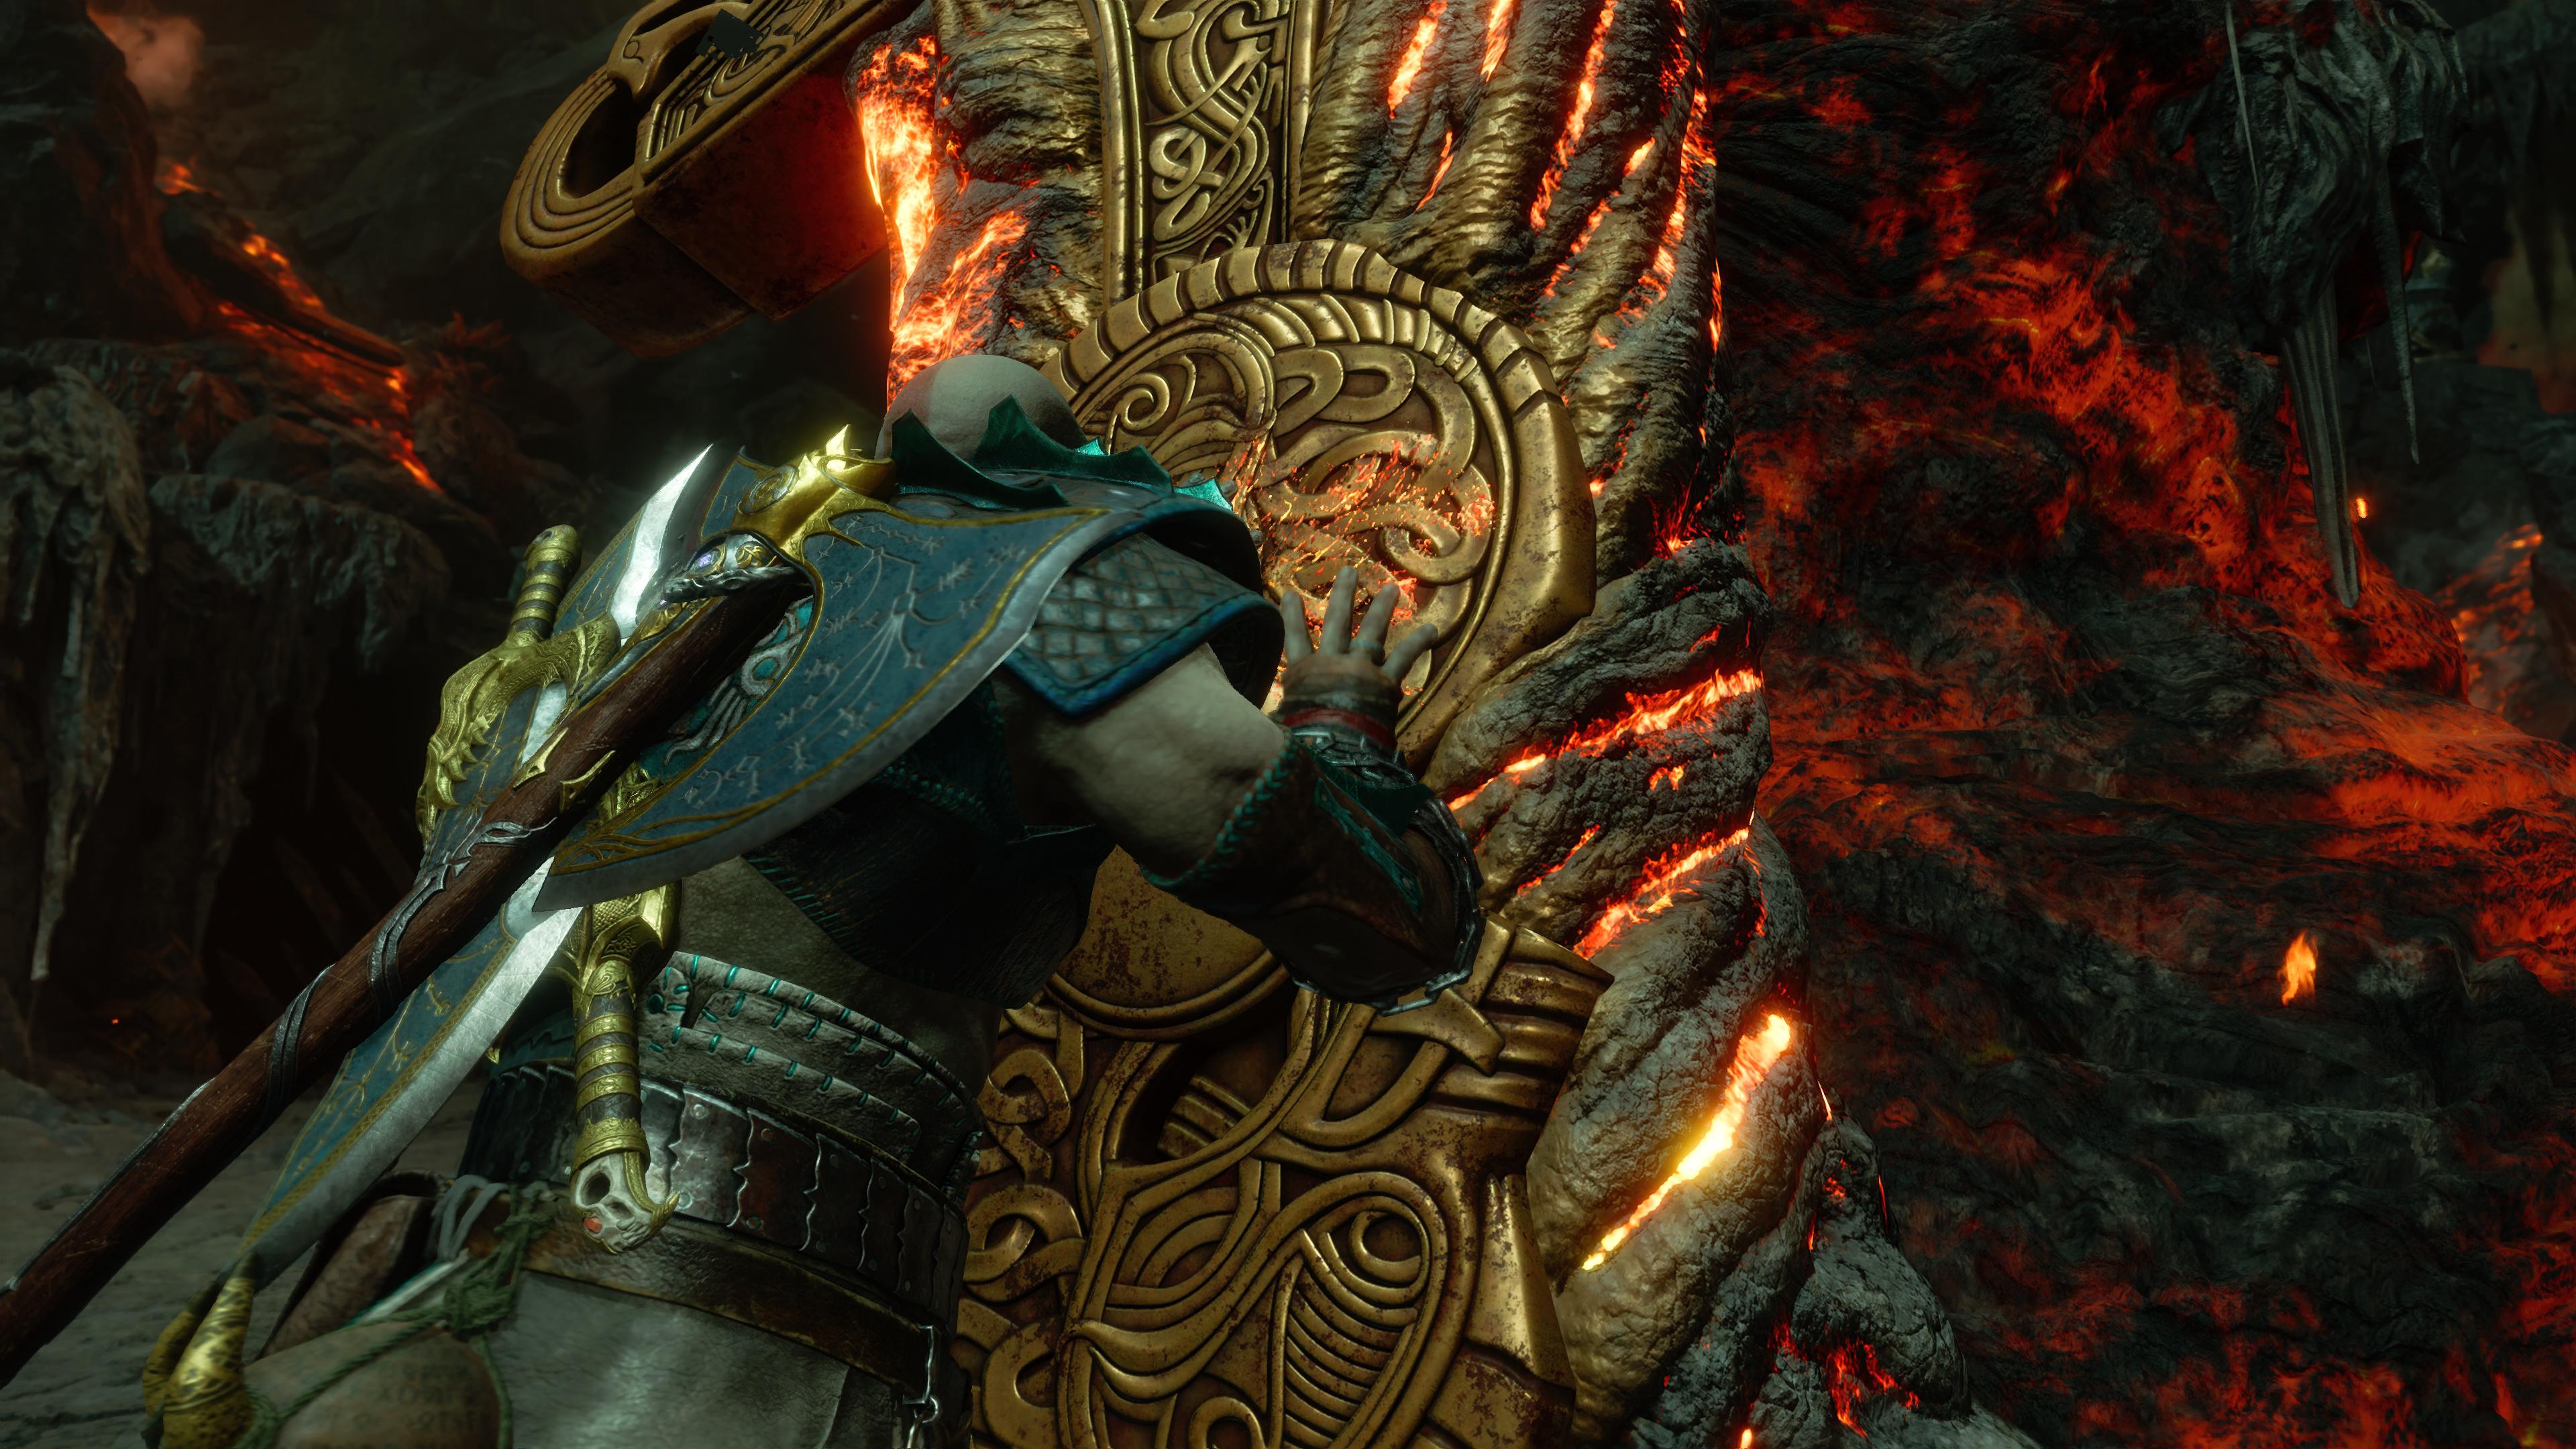
In God of War Ragnarök, hell is frozen over. Maybe you expected something a bit more traditional: a steaming hot morass, soaked in lava and packed with throngs of monsters who want nothing more than to wear your skin as a jacket. That place exists in Ragnarök. You just have to head to Muspelheim, the land of the fire giants.
Muspelheim is a recurring area from God of War (2018), and is much like its iteration in the first game (an optional gauntlet that pits you against increasingly difficult enemies). To access the realm in God of War Ragnarök, you need to seek out two Muspelheim seeds, which will allow you to use mystic gateways to travel there at will. Here’s where to find both Muspelheim seeds in God of War Ragnarök, plus a quick rundown of the challenges you can expect to face once you get there.
First Muspelheim Seed
You get the first Muspelheim seed in Svartalfheim, in the Modvitnir’s Rig area. On the platform overlooking the crane, you’ll see a Legendary Chest. It contains the first Muspelheim seed. (Stop now if you don’t want spoilers.)
Second Muspelheim Seed
The second Muspelheim seed is also in Svartalfheim, but you won’t be able to get it until way later in the game. It’s located specifically in the Alberich Hollow area — which is only accessible after you’ve forged the Draupnir Spear.

Once you have the spear, head to Dragon Beach. Use the spear to scale the platforms up to the giant bridge, then turn left at the top (by the giant statue of the dwarf) to get into Alberich Hollow. You’ll see a Legendary Chest containing the second Muspelheim seed.
Muspelheim Crucible Challenges
Muspelheim features three primary chambers (located west to east, from easiest to hardest). At first, you’ll only have access to two crucible challenges per chamber. Completing all six will mark the “The Crucible” side quest as complete.
Some notes to keep in mind: Your health bar will fully rejuvenate between challenge attempts, but your rage bar won’t. Any skills you land will contribute toward progress you’ve made toward unlocking mod tokens (unless you die). You’ll earn prizes for every challenge you complete, including divine ashes, a rare crafting component used for high-level armor sets.
Once you finish all six challenges, you’ll unlock a third crucible challenge for each chamber, but that’s those are better saved for God of War Ragnarök’s final act (both in terms of the challenges they pose and the prizes you earn). For now, here are all the challenges you need to beat to check off “The Crucible” side quest.
First Chamber Crucible Challenges
- Weapon Mastery: Kill 16 enemies in three minutes. Easy peasy.
- Flawless: Kill 15 enemies without taking any damage. Seriously, one hit will cause you to fail. Not easy or peasy!
Second Chamber Crucible Challenges
- Ring Out Challenge: Kill 21 enemies by pushing them into lava pits. Your Spartan kick attack (R2 while unarmed) will do wonders here, by the way.
- Feed the Rift: Throw six glowing orbs into a giant temporal rift in less than a minute (the countdown doesn’t start until you sink the first orb), then toss 15 orbs into the same thing in less than two and a half minutes. Watch out for the floating wisps, as they’ll destroy any orbs you’re carrying.
Third Chamber Crucible Challenges
- Population Control: Kill a large enemy but don’t let cannon fodder flood the arena. If there are more than four lower-level enemies on the field, you have 20 seconds to reduce their numbers.
- King of the Hill: Don’t let enemies occupy circular zones long enough for a gauge to fill all the up. First wave has one zone; you have to survive for 40 seconds. Second wave has two zones, and you have to last 70 seconds. Third wave requires you to keep an eye on three zones for 90 seconds. The gauge doesn’t reset between waves. If that isn’t worse than a frozen hell, I don’t know what is.
Looking for more guides? We have explainers on the best armor, Odin’s Ravens locations, all Nornir Chest and puzzle locations, and 100% completion guides for Midgard, Svartalfheim, Vanaheim, and Alfheim.
Source:https://www.polygon.com/23458951/muspelheim-seeds-crucible-challenges-legendary-chest-svartalfheim-alberich-hollow


